Click on HOME to see most recent posts!

Place a Stampin' Up order with me and get a
FREE TUTORIAL OF YOUR CHOICE for every $50 that you spend!
Showing posts with label Punch Art. Show all posts

Thursday, March 12, 2015

Eggcelent Box & Chick Cards

Align Center
This is the perfect gift to give anyone, big or small, for Easter!
This would also be a great gift for someone who just had a baby. You could add pink bows for a girl or blue bow ties for a boy!
The egg box flips up to open and fits three chick cards with 3” x 3” envelopes or more.
You do not need 12” x 12” paper for this project, only 8 ½” x 11”!

CLICK HERE to get the directions for this project!

Thursday, April 12, 2012

Finally Some Stamping!

As some of you know (or if you look at my past posts) I have been doing a lot of painting lately, instead of stamping. This card my Mommo did, and I just loved it and had to post it!
I will get back to stamping soon, but in the meantime I will pots some of my moms great cards that she does with her classes!
The clouds are done with the cupcake punch and the pants are with the vest from the owl punch.

Saturday, February 11, 2012

Punch Art Dress Swap


Since I had so much fun making these dress cards, I decided to make them for my swap for my Green Mountain Stampers meeting today.
This is a great group to be part of, and now its the best time to join since its Sale-a-Bration! That means it's only $125 for the starter package (with over $300 of products in it) and you also get some Designer Series Paper or free digital downloads as well!


See my other dress cards and how to make them by clicking on the images.


Friday, February 10, 2012

Punch Art Wedding Dress


I had so much fun making my other punch art dress card, I just had to switch it up a little and make a wedding dress!
I used the Established Elegance stamp set to stamp the dress form in Soft Suede ink. I used the Heart to Heart Punch, Blossom Petals Punch and Lace Ribbon Border Punch to make the dress.

How to make this card:
First cut a strip of Whisper White card stock and put it through the Lace Ribbon Border Punch. Use the large petal on the Blossom Petals Punch and punch out one in the lace and another of regular white card stock. Do the same with the medium heart. Then just use the Two-way Glue Pen to stick them on top of each other. For the background I just cut strips with the Lace Ribbon Border Punch and glued them to the front of my card in rows.


I used the Labels Collection Framelits from the Occasions Mini for the center shape and some Pearls to accent my dress.

I love these little dresses with this stamp set! SO cute!

Thursday, February 9, 2012

Punch Art Dress Form


I saw a card from Annette John with a dress like this on it, and just had to make one. It is so cute and fits perfectly on the dress form stamp!
I used the Established Elegance stamp set to stamp the dress form in Soft Suede ink. The dress is made out of the Heart to Heart Punch and the Scallop Circle Punch. I used the Sale-a-Bration Everyday Enchantment DSP and ribbon for the dress and the Textured Impressions Vintage Wallpaper embossing folder with the Big Shot for the background. I used the Labels Collection Framelits from the Occasions Mini for the center shape.

Thursday, January 26, 2012

Heart Flower Valentine Diabetes Tutorial

Here is my Heart Flower Valentine Tutorial!
This tutorial is only $1 and ALL of the proceeds from this tutorial will go towards our Downhill for Diabetes ski and snowboard event to help find a cure for diabetes!
I used the Heart Framelits for the Big Shot, and the Loved Ones and Take it to Heart stamp sets from the 2012 Occasions Mini catalog for this project. I also used the Everyday Enchantment DSP from the 2012 Sale-a-Bration catalog that you can get for free with a $50 purchase! You can easily change out any of the items that you don't have.
(See the Sale-a-Bration catalog here.)


Thank you for your wonderful contribution to help find a cure for diabetes. If you would like to see more details or join us at our event, Feb. 26th 2012 at Pico Mountain Resort, see our website for more information!
http://www.donationsfordiabetes.org/

Monday, December 5, 2011

Mommo's Birthday Card

After making my In-laws birthday Card, I knew I had to do one for my Mommo's birthday too. Here is hers!
The person is made the same way as the other card for all of the pieces. The table and chair are cut freehand. I used the Tote-ally Tess stamp set for the stamping tools on the table and the Happiest Birthday Wishes Hostess set for the banner. The hair looks gray in this picture, but its really brown on the card.
I thought this would make a great Christmas card to give your favorite SU Demo too!
Happy Birthday Mommo!
Her birthday was December 2nd.

Thursday, December 1, 2011

In-laws Birthday Card

Here is the card that I made for my In-laws birthday yesterday. They share a birthday as well as their sofa each night. My father-in-law watches TV and snoozes while my mother-in-law knits. I thought this card would be perfect for them! I am truly blessed with not only amazing parents, but in-laws as well!

Here is how I made them below!
For the main card I folded in half a 8-1/2" x 5-1/2" piece of Not Quite Navy card stock. I cut the corners rounded at the top fold and sponged the edges and center. I freehand cut the top pieces and put it on top with Dimensionals. Make sure you sponge behind where the cushion hits so it pops out more.


So here is what your card base will look like after they are together. I also put shading with the marker and highlights with the white gel pen after.


For the punching of the people:
head- 1" circle
hair - 1-1/4" circle
torso - wide oval punch
hips - retired small oval punch
legs - retired small oval punch
feet - toe from stocking punch
arms - medium heart on heart-to-heart punch
remote control - top from the stocking punch
hands - large circle on the owl punch with a finger cut out
the footrest is just a rectangle with the corners rounded

for the knitting:
I used sticky strip and put it around the word window punch for the scarf, and then around the 1/2" circle for the ball of yarn. You really have to put the sticky strip on both sides and then just wrap it with the Bakers twine. The needles are cut freehand.

cat-
head - 1/2" circle
ears - mini heart from the owl punch
body - retired small oval punch

Just about every layer is put on with Dimensionals, so in person this card really pops out at you.


Wednesday, November 30, 2011

Mini Honeycomb Ornaments

I usually try to only do one post per day, so I don't run out of things to post... but with Christmas in less then a month, I think I have more project ideas then days!
So keep checking back often, I am on an ornament kick right now, so there might be multiple posts per day!
I have to send a thank you out to Ellen Williams for this great idea. After seeing the large Honeycomb Ornament that I posted this morning, she emailed me and suggested doing it with the ornament punch. I thought it would be too small, but I tried it and they came out so cute! You do have to put less glue dots on them, so you can see what I did below.

Tips for making these:

1. You can cut your 12" paper into 3-3/8" x 12" strips and punch both sides to get the most punched ornaments out of your DSP.
2. You can stack two punched shapes on top of each other and score them on the Simply Scored at the same time!
3. You want to make these out of DSP, not card stock. Card stock would be too thick I think, and you need the paper to bend.

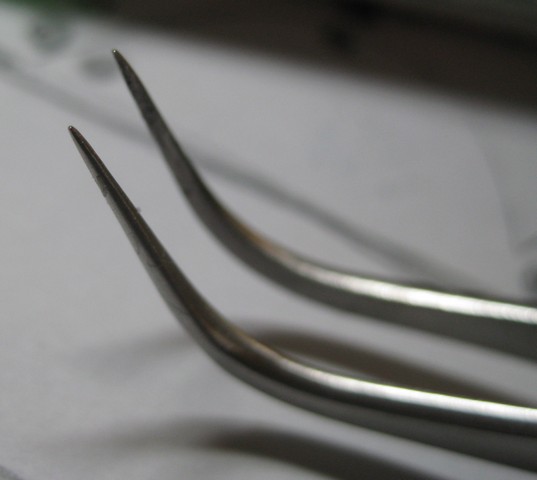
4. Get a very sharp ended tweezers to put the glue dots on. It picks them up so easily and puts them down without sticking to the tweezers. You can get these in the beauty isle near makeup stuff. It is worth the investment in a good sharp pair instead of the dull $2 version.
5. Use Dotto removable adhesive to put your first folded shape down on your scrap paper, this makes them stay still and easier to stack.

And here is how I made these:
(Check my Honeycomb Ornament post for the rest of the directions for the larger size.)

For the first picture above, here is how I did the glue dots. I made this one simple and only did two spots. This was really easy and quick to do. I would suggest doing it this way if you are doing lots of them, or doing this with a group.
Once you put the one glue dot down, fold over the ornament and put the dot in the other spot and put the next one on top. I labeled my diagram with the colors of my DSP paper sides so I would not get confused. I did 13 of these shapes for this one.


Here is how I did the second one. One side has the two at either end, and the next side has it in the middle. Once you get this one together, you really have to manually bend the papers to get them to open up and it kind of folds them instead of just bending. Kind of a pain, so I would suggest the first way unless you have a lot more patience then me! I did 10 of these shapes for this one.


Hope you have fun with these, they are perfect for little trees!
They also fit perfectly in my 6 Pack Ornament Holder and make a great gift!

Thursday, November 10, 2011

Owl Punch Pear Card

Here is my Owl Punch Pear card! It was really simple to do but I will break down what I used.
I used the Owl Punch with Wild Wasabi card stock to make the shape for the pear. I cut off the feet and the ears. For the inner one (Very Vanilla), I just cut the feet and ears off and then cut a little bit off around the edges of the shape to make it smaller. The center white is the 1/2" Circle cut in half and the seeds are Chocolate Chip using the Cupcake Punch, its the flame from the candle! The stems are using the bird punch. Just cut a branch in Chocolate Chip and other in Wasabi, cut the leaves off and glue the Wasabi ones on. Then just cut the top leaf in the shape of a stem. The words are using the Billboard strip with the Big Shot. (I love these alphabet strip dies, they come in so handy all the time!)
My husband was not a fan on my wording for this, and thought it should say, "What a Pear!" or something like that. But of course he mentioned this after I had glued them on! Usually I ask his opinion before I glue it together... oh well!
I thought this would make a cute anniversary or wedding card.

I used the the Scallop Trim Border and Corner Punches for the fancy rectangle the pears are on. Then I just used the Simply Scored to emboss the line going around it. You can get the dimensions for using the Scallop Trim Border and Corner Punches HERE to make them line up perfectly.

Tuesday, October 18, 2011

Popped Punched Pumpkin


I am holding a Halloween Card Class at my house tonight, and this is one of the cards that we will be doing. We are making three cards, so make sure you check back to see all of them!
For each of the cards that my ladies are doing tonight, I got inspiration from another card. Here is the card that I saw that inspired this one. I thought the pop-out pumpkin was great, but wanted to make my own! I used the 2-1/2" Circle Punch and just punched out 5 pumpkins, folded them in half and taped them together. The card just folds flat on the front to mail in a normal envelope. The DSP that I used is Well Worn, I thought that goes pretty good with the Halloween theme.


Friday, October 14, 2011

Halloween Pop-Out Cards


The Fronts!


The Insides!


Here are my Halloween Pop-Out Cards! These fold flat and fit in standard medium SU envelopes, but the recipient gets a surprise when they are opened!
I do have to say, these cards look pretty simple, but they took forever to figure out the dimensions to make them work properly! They do have a great "wow" factor when you open them! These are a favorite with my son.

Due to Stampin' Ups' policy, I am no longer able to offer the directions and templates for these cards while still being a Demonstrator. Sorry for any inconvenience!

Thursday, October 6, 2011

Punch Art Skull with Framed Scalloped Border

Here is my punch art skull card! I used the Scallop Trim Punch to make a scalloped border around the Scallop Oval Frame die from the Big Shot! Wow, that's a mouthfull! You can use this technique to make a frame around any shape you want!
You can see how I did it all below!

For the bones I used the Modern Label Punch. I have layered it over a full one so you can see how I cut it. I slimmed down the long sides and just cut the center bumps off both ends.


The skull is using the Blossom Petals Punch, the largest blossom. You can see how I cut it here. I cut the nose and eyes out using a craft knife.


***I forgot to write it in the beginning, but this was my Mommo's idea to do the border this way!***
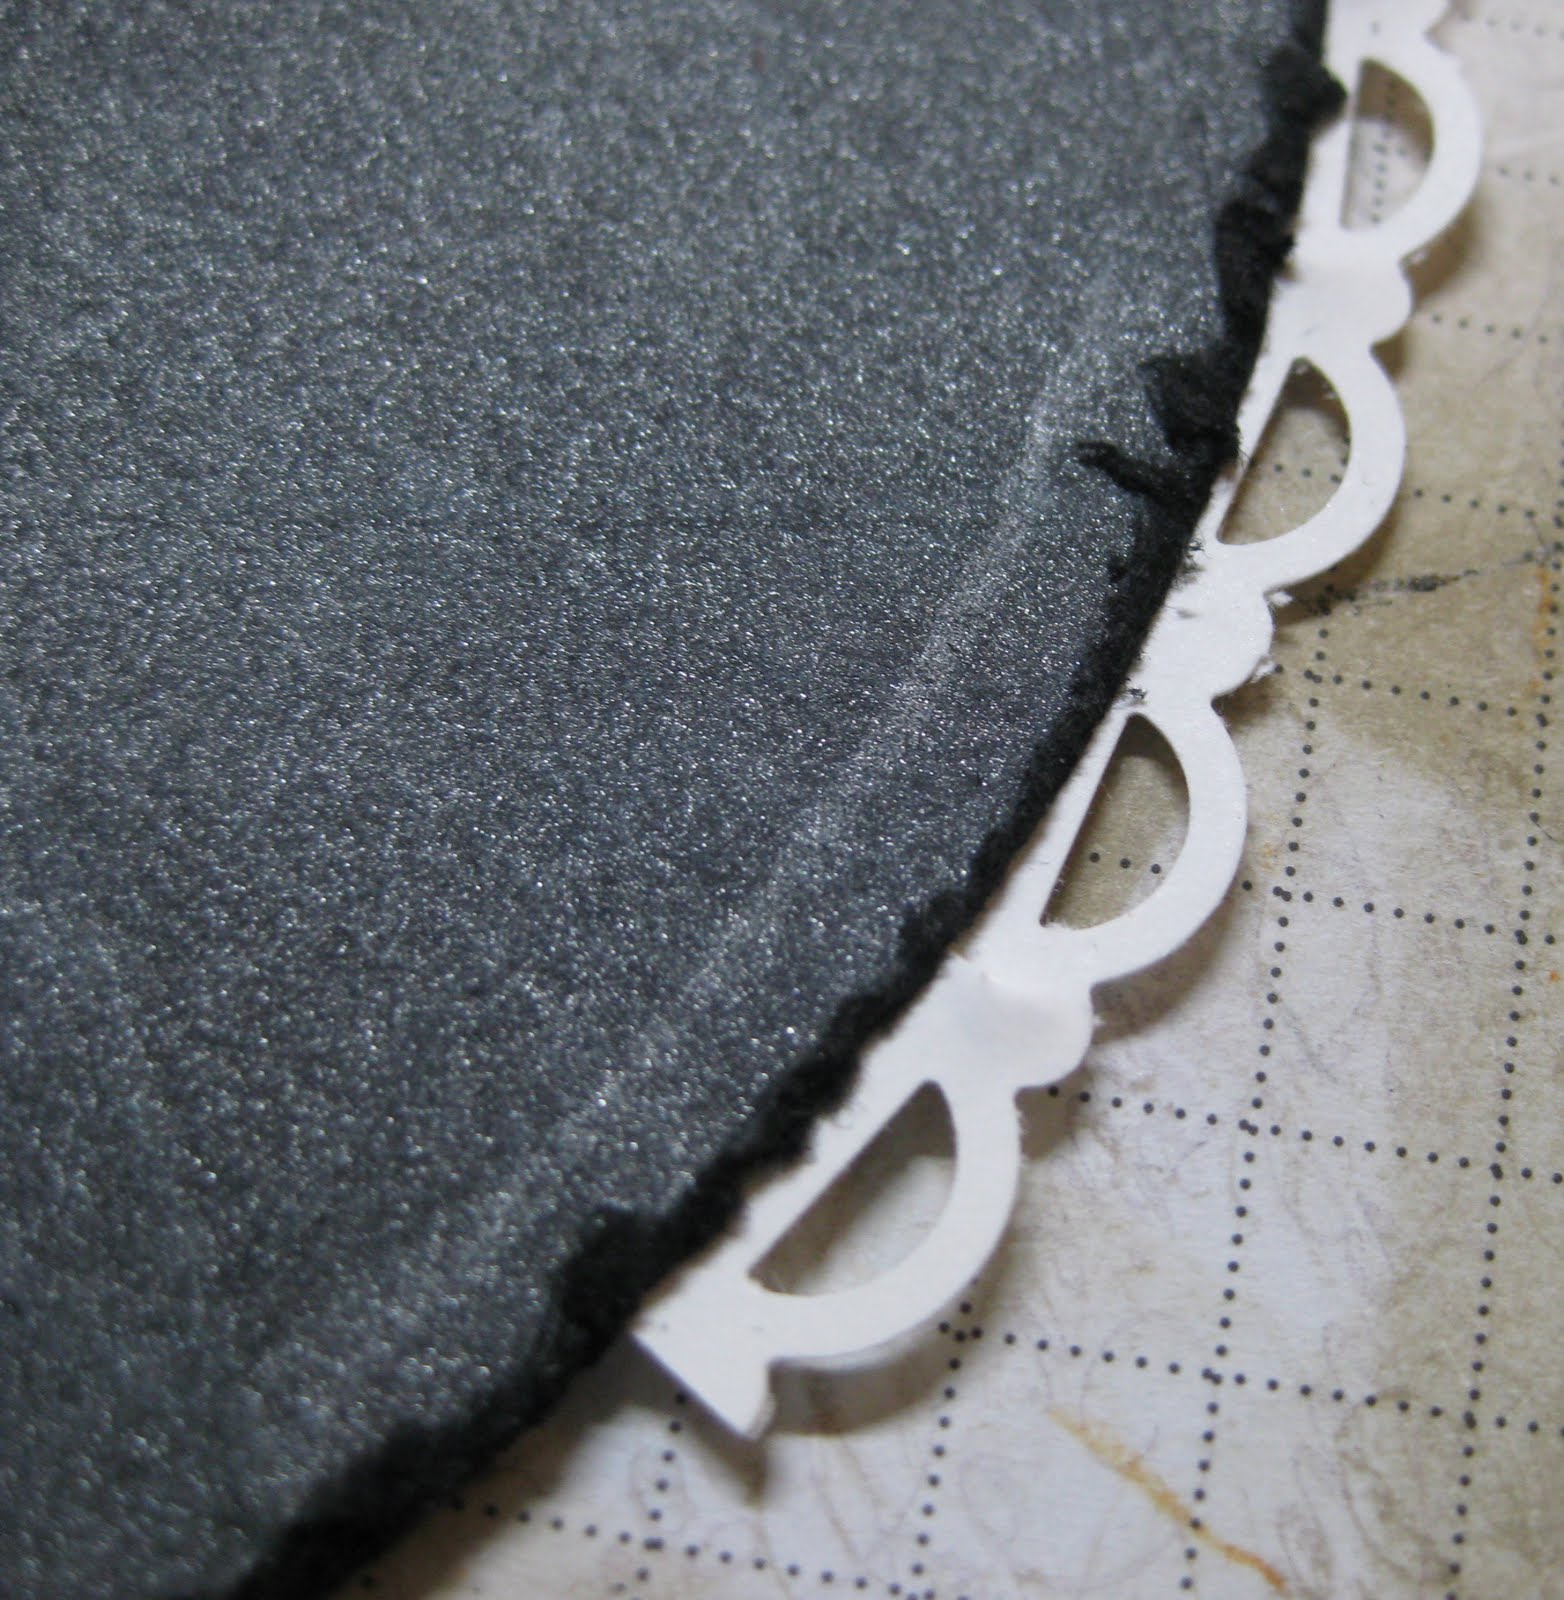
To make the border I punched a strip of white paper with the Scallop Trim Punch. Then I cut a slit almost all the way through at each bump in between the scallops. I used the center of the Scallop Oval Frame die for the center. I cheated a little here since I don't have the Web embossing folder yet, so I just used my stylus to score in the web. I lightly sponged it with White craft ink and then sprayed it with Platinum Shimmer Paint mixed with alcohol in a spray bottle. The web and shimmer do not show up well in the photos but they look great in real life!


Then just tape the ends of the scallop piece going around the oval so just the scallops stick out.


Where they meet when you come around, you can just cover with a bow or something if they don't match up exactly. I covered mine with my sentiment.


I have done other punch art skulls before, but this new one is by far my favorite! Here are some others below.

Treasure Chest and Treat Box Card

Related Posts with Thumbnails