Click on HOME to see most recent posts!

Place a Stampin' Up order with me and get a
FREE TUTORIAL OF YOUR CHOICE for every $50 that you spend!
Showing posts with label Halloween. Show all posts

Monday, October 24, 2011

Double Door Decorated for Halloween!


Here is my Double Door Decorated for Halloween! I had so much fun making the other one, I just had to do one for Halloween. I used the Piece of Poison stamp set from the Holiday Mini for the skeletons and the sentiment on the inside. The paper is Cajun Craze.
To see the other door I made for Christmas, and get the FREE template and directions to make this,
CLICK HERE!

CLICK HERE
to see all of my other Door Cards.

Thursday, October 20, 2011

Halloween Class Card #3


Here is the third card that I did with my Halloween Card class earlier this week. I love cards that open different then the standard way. The pumpkins are punched using the Large Oval Punch and the small ones use the 1" Circle Punch. The grass on the bottom is using the Lace Ribbon Border Punch.

The main part of this card is 4-1/4" x 9-1/2", scored at 5-1/2".
The white piece is 3" x 6" and scored at 4".
I used Night of Navy, Pumpkin Pie, Whisper White and Wild Wasabi card stock for this card, and sponged the pumpkins with Cajun Craze ink.


I got inspiration for this card from this great swap I got from Madeline Gardner, another one of the Green Mountain Stamper ladies from the group I am in. Her card is below.
Thanks Madeline!

Wednesday, October 19, 2011

Halloween Class Card #2


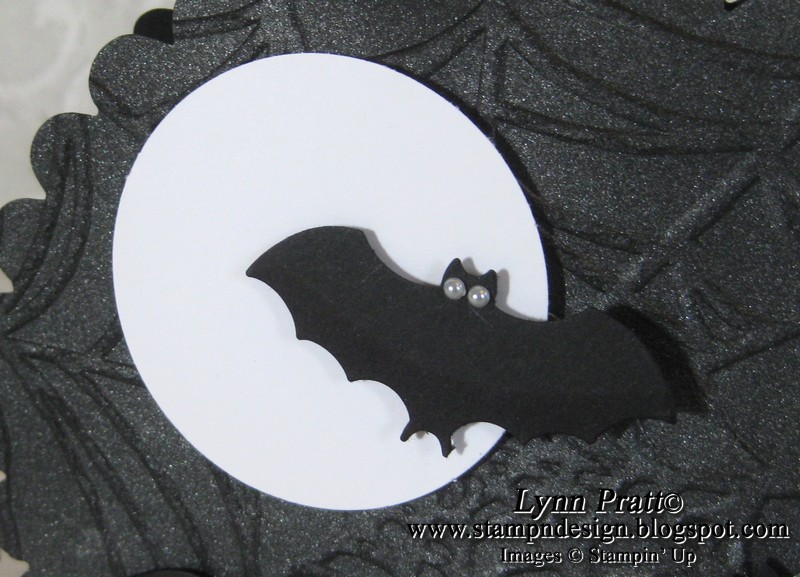
This is the second card that I did with my stamp ladies last night for our Halloween Card class. I used the large Scallop Circle Die with the Big Shot to cut it out, and then put it back through with the Spider Web embossing folder. I spritzed the card with Platinum Shimmer Paint mixed with alcohol in a spray bottle. You can't see it too good in this photo, but it is very shiny and makes the bats really stand out. Everything is out on with Dimensionals and I used the smallest size Pearls for the eyes. I really like how this card came out!


I got the inspiration for this card from this great swap I got from Rachael Ellison, one of the demos in the Green Mountain Stampers group that I am in. Her card is below, I love it!
Thanks Rachael!

Tuesday, October 18, 2011

Popped Punched Pumpkin


I am holding a Halloween Card Class at my house tonight, and this is one of the cards that we will be doing. We are making three cards, so make sure you check back to see all of them!
For each of the cards that my ladies are doing tonight, I got inspiration from another card. Here is the card that I saw that inspired this one. I thought the pop-out pumpkin was great, but wanted to make my own! I used the 2-1/2" Circle Punch and just punched out 5 pumpkins, folded them in half and taped them together. The card just folds flat on the front to mail in a normal envelope. The DSP that I used is Well Worn, I thought that goes pretty good with the Halloween theme.


Friday, October 14, 2011

Halloween Pop-Out Cards


The Fronts!


The Insides!


Here are my Halloween Pop-Out Cards! These fold flat and fit in standard medium SU envelopes, but the recipient gets a surprise when they are opened!
I do have to say, these cards look pretty simple, but they took forever to figure out the dimensions to make them work properly! They do have a great "wow" factor when you open them! These are a favorite with my son.

Due to Stampin' Ups' policy, I am no longer able to offer the directions and templates for these cards while still being a Demonstrator. Sorry for any inconvenience!

Thursday, October 6, 2011

Punch Art Skull with Framed Scalloped Border

Here is my punch art skull card! I used the Scallop Trim Punch to make a scalloped border around the Scallop Oval Frame die from the Big Shot! Wow, that's a mouthfull! You can use this technique to make a frame around any shape you want!
You can see how I did it all below!

For the bones I used the Modern Label Punch. I have layered it over a full one so you can see how I cut it. I slimmed down the long sides and just cut the center bumps off both ends.


The skull is using the Blossom Petals Punch, the largest blossom. You can see how I cut it here. I cut the nose and eyes out using a craft knife.


***I forgot to write it in the beginning, but this was my Mommo's idea to do the border this way!***
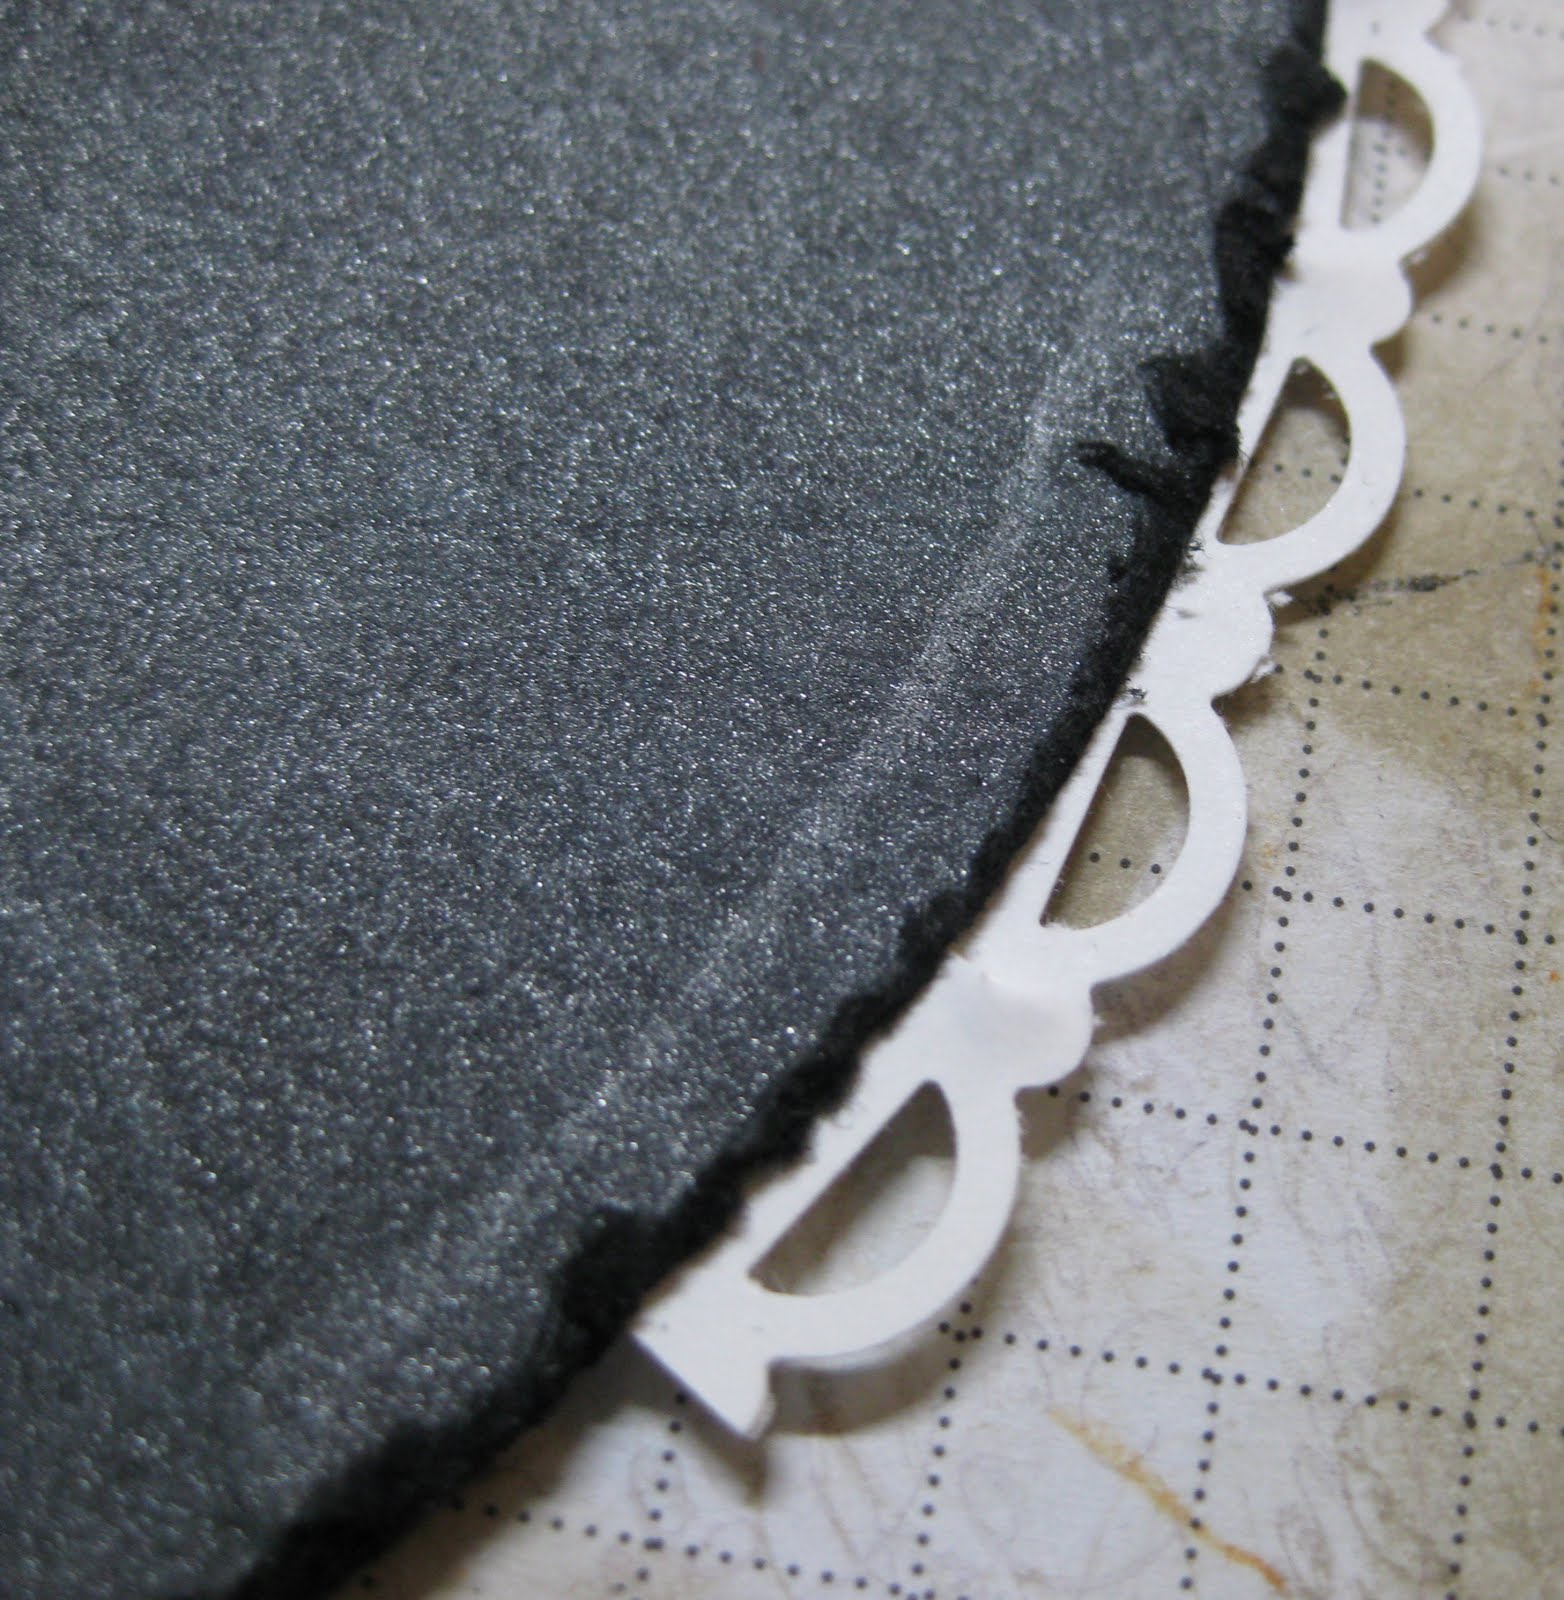
To make the border I punched a strip of white paper with the Scallop Trim Punch. Then I cut a slit almost all the way through at each bump in between the scallops. I used the center of the Scallop Oval Frame die for the center. I cheated a little here since I don't have the Web embossing folder yet, so I just used my stylus to score in the web. I lightly sponged it with White craft ink and then sprayed it with Platinum Shimmer Paint mixed with alcohol in a spray bottle. The web and shimmer do not show up well in the photos but they look great in real life!


Then just tape the ends of the scallop piece going around the oval so just the scallops stick out.


Where they meet when you come around, you can just cover with a bow or something if they don't match up exactly. I covered mine with my sentiment.


I have done other punch art skulls before, but this new one is by far my favorite! Here are some others below.

Treasure Chest and Treat Box Card

Wednesday, October 5, 2011

Fancy Favor Treat Broom


Here is my Fancy Favor Treat Broom! I used the Fancy Favor box die and the packing paper that comes with Stampin' Up shipments to make this little favor! These would be great to make with a class or for all the people that come to your next class filled with little treats! A great hostess gift too and so easy to make!
I saw the original idea on the Martha Stewart site using paper bags, but I thought the Fancy Favor die would be perfect for these!

Here is how I made this cute little witches broom favor:

Using the Big Shot and the Fancy Favor die, cut out two bags using the scrap paper that comes with the Stampin' Up shipments as packing material. If you do not have this, grocery bags or construction paper would also work ok. You do not want to use cardstock to do this, it will be too thick.


Tape the bottom of the boxes together. These do not need to be perfectly straight or have all of the scores folded. You are going to smush them around anyway.
Cut one of the bags in slits going almost to the bottom of the bag.


Put your treats in the uncut bag and put this is the center of the cut bag. Just smush the bottom to fit it in.
Use twine and tie up the top of the bag around a stick. Your bag is finished!


I used the Out on a Limb stamp set and the 2-1/2" Circle Punch to make the little tag for the top of the stick. I tied this on with more twine.

Link
***POST UPDATED***
If you want to use the Fancy Favor box, but make the treat bag broom larger, here is how you do it!


Use one section of the paper packing material from the SU shipments and fold it in half the long way.


You are going to fold over in the middle of both layers of paper like shown. The fold needs to be on the top part of the Fancy Favor die, not over the scores to make the bottom tabs.


Put it through the Big Shot and you will get your two bags that are larger and can hold more treats. Follow all the rest of the steps above to make the broom!


Thursday, September 8, 2011

SNAIL Ghost - Stamp Clubs Third Card

Here is my ghost card that I did with my stamping club this week. We used the package from the SNAIL tape for the ghost shape! Mine is filled with paper here, but you would really fill it with candy or some other white treat! (White gumballs, yogurt covered raisins, mints or something like that.) There is a slide out pocket too, so the recipient of the card does not have to ruin it to get the treat out.
I have to give full credit to my wonderful husband for this idea. I knew I wanted to make something with the SNAIL container, but could not come up with something good. Some days I just have a creative block going on... he always comes up with something good! He came up with the ghost and another great idea. Check back soon to see what his second idea was!
Here is the inside showing the pull-out pocket. I will try to write up directions for this soon so keep checking! I forgot to take step-by-step pictures while I was doing it. Woops!

Tuesday, March 29, 2011

Chiropractor Thank You


I made this card as a thank you for the new Chiropractor that I have started to go to. He is great! (If any of you are in the area, his name is Dr. Bruce Steinberg located in Queensbury, NY)


I made the skeleton on the card from my Halloween Punch Three Card Class that you see below. I used brads to hold all the joints together so you could move him around, just like I can now that I have been seeing Dr. Bruce!
He is only attached to the card at one rib/brad spot so he can move all around.

Related Posts with Thumbnails