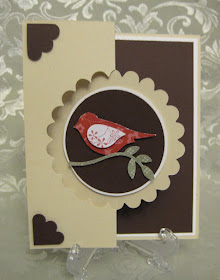
 My mother found this great card on Splitcoast so I emailed Debbie, the woman who came up with this technique, and asked how she made it. She was nice enough to tell me and said I could share it with you so here it is!
This is how to make the die cuts only cut half-way through your paper.
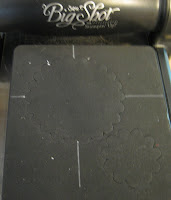
I have marked my scallop circle #2 die with my white gel pen so I can easily find the halfway and center marks on the circle. (I have done this to all of my dies and have had no problem of it coming off on cards.)
First fold your 8 1/2" x 5 1/2" paper in half. On the front of the card mark in halfway at 2 1/8". Also mark the end center of your card at 2 3/4" like shown. Do this is pencil lightly so you can erase it after.
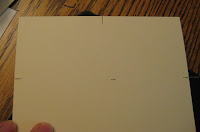
Put the marked end on top of your die cut up at the top edge with the center mark that you made centered on the large circle and the side marks centered on the halfway marks of the circle die. When you put the top cutting mat on, only put it up to the center 2 1/8" marks that you made on the paper that is also the half way point on the circle under it.
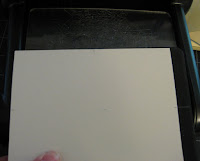
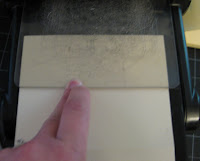
Run it through your big shot like that and this is what you will get! Half of a circle!
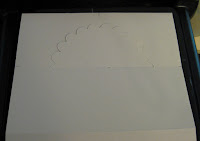
Now fold the front of your card back at that 2 1/8" half way point. You can also erase your pencil lines.
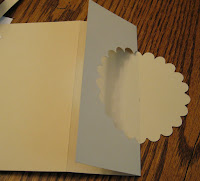
This is what you will have now!
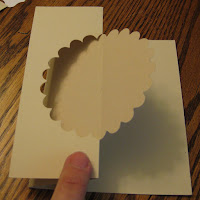
I used the circles #2 die cut to cut the 2 1/2" circle and then taped it to white. I then just cut the white with a border around the chocolate chip.
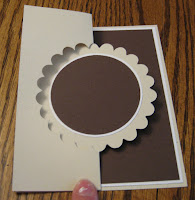
For the corners I just punched the scallop circle punch and cut it at a right angle. I put the brown paper on the inside of the card to really show the scallop circle shape and used the two-step bird punch out of patterned paper for the middle!

